Having fun decorating a watering can
With summer pretty much upon us I’ve been out in our backyard gardening with the kids, planting seeds - our pumpkin seeds have sprouted and oh-boy are we going to have a BIG pumpkin garden this year. If you have never tried planting pumpkin seeds it’s honestly one of the easiest to plant and to grow. Make sure you have plenty of garden space for them, because let me tell you - they expand like you wouldn’t believe. Just till your soil and then add a layer of mulch, dig at least 10 - 12 areas that are 3-4 inches deep in the soil, and then add your seeds (3-4 in each hole), cover back with soil. Then water, just make sure to check your soil and keep it fed with lots of H20. Within a week or two you should see your little sprouts pop out to say hello.
One of my problems with our yard is that it’s divided into large sections where I can’t always reach with a garden hose. Does that ever happen to you? I hate for my plants to wilt and look so sad, so I rely on watering cans a lot. We happened to be at one of my favorite places… Target, and found these wonderful orange and yellow watering cans in their dollar bins, score! I was so excited to use them. I got one for my son and one for my daughter.
The only thing missing from these watering cans was some cute decorations. My daughter helped me pick which stencils we wanted to use and we were on our way.
Let’s Decorate your Watering Can
Here’s what we started with, our 2 watering cans - pretty plain, they were screaming out to please decorate me. Don’t you think?

Supplies needed to decorate your watering can
Watering Cans - I found these at Target in dollar bins
Stencils - I used Folkart Painting Stencil
Black acrylic paint
Sponge brush
Tape
Next we grabbed our stencils and lightly taped the sides in place on top of the watering can.

Now we were ready to paint. Doesn’t this poor can need some love?

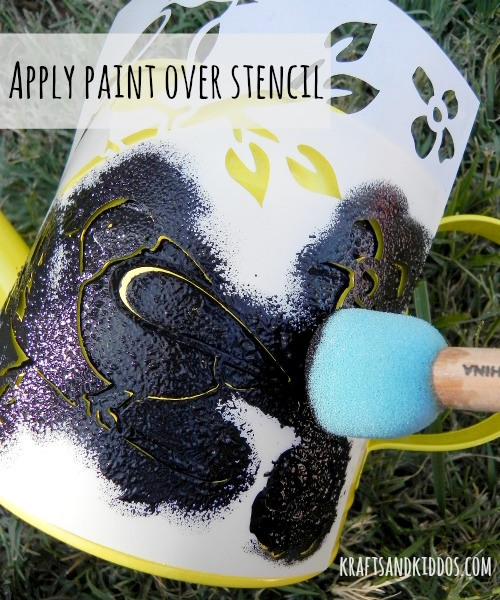
Next we were ready to paint. Grabbed our black paint and sponge brush and covered the stencil.
Next, place your stencil out to dry. I waited about 20-30 minutes to be safe. Remove the tape and re-use stencil if you have other cans to decorate.

Once the last watering can was dry I removed the stencil and here is how they looked.

So the next time you’re at your dollar store or at Target and see those glorious bins filled with goodies, make sure to pick up a few watering cans. Once you get home you can transform your cans into a whole new look. We liked bird stencils, but you could also have your kids stencil their names onto the cans or try using different paint colors. There are all sorts of fun stencils to choose from.
Are you ready to get out and enjoy your garden with some fun watering cans? The weather is getting nicer this is the perfect afternoon craft.

I love how easy and fun this is. Its super cute for decoration or to bring someone some flowers in. I love it! Pinned it.
Camille recently posted…First Friday Favorite!
Thanks Camille, great idea adding flowers into the watering cans. It was easy to make too! I caught my son grab his can today and help water the garden, already so much fun to use. Thanks for pinning